Hello guys!
It’s time to share DIY FOR LIFE!
Have you guys ever bothered by the same problem as me?
Summer is coming, which means plum rain season is not far behind
I HATE raining T_T
Shoes usually get wet on the way to the company in a raining day.
Then, socks will be wet inside and outside, making me uncomfortable all day long.
What’s worse, it is possible to get athlete’s foot due to the feet soaking in the wetting and humid socks.
Maybe I should have bought a pair of flip-flops lest it rain that the tragedy happens.
In the office,
no clean socks to put on
no hair dryer to blow wet socks dry
let alone take off my shoes and socks lol
So, let’s DIY to solve the problem about my wetting socks as I’m in the office!
Let’s do it!!!
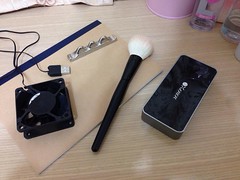
※ What should we prepare for it?
USB fan, file-holder ropes, binder clips, bottle, a pair of scissors, box cutter, power bank

All the materials are easy to get in your office :)
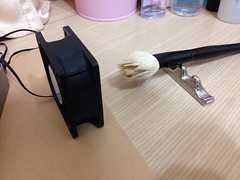
Step1. On the air inlet side, thread the file-holder ropes through four holes to make a knot


Step2. On the air outlet side, thread a rope through two holes to be the one to hang socks


Step3. Wash bottle clean, cut off the upper part of the bottle and rim

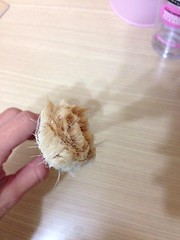
Step4. Cut out strips of bottle (the part to stuff into wet socks)


※ as illustrated in the picture above
Step5. Hang your dryer device onto any kind of holder (I take all-purpose umbrella as the holder :p ), fix wet socks with binder clips onto the rope, and connect USB pin into power bank to start the fan


15:36pm Start to blow socks dry
16:45pm Just an hour, the wet socks have already been dried 90%; only the fore-end part of socks is still a bit wet

※put it upside down to dry
17:00pm It’s dried inside and outside!!!!!!!
How useful the dryer device it is!
It just took an hour and few minutes to dry socks!
No more soaking my feet in the wet socks
the problem to be solved totally >:)
Hope you guys would like the idea I share with you.
Make some comments below as support for me, thanks you xoxo


